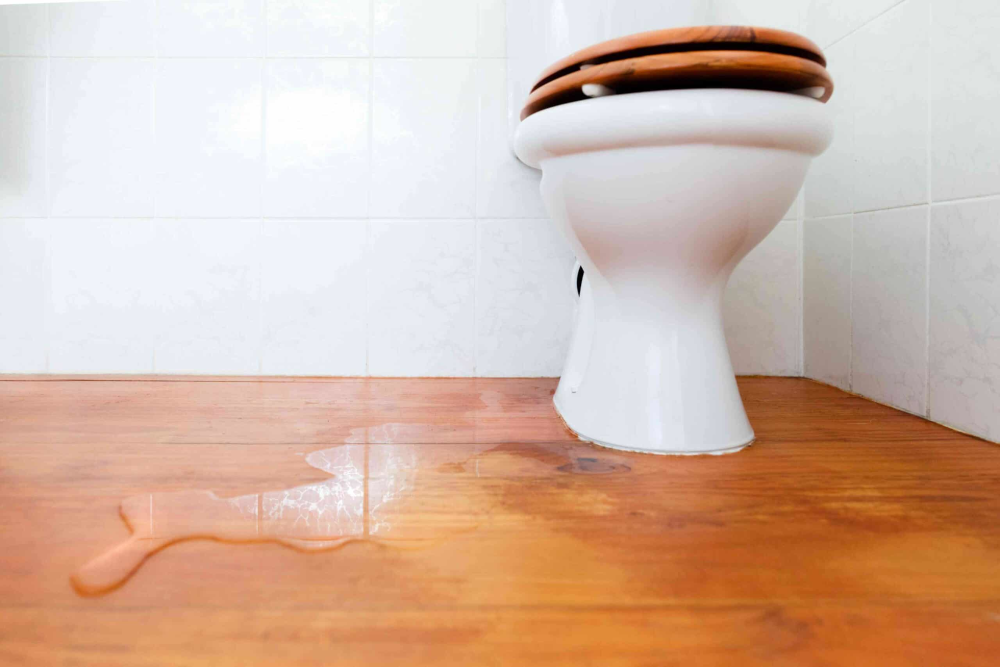
A leaking toilet is one of the most common and frustrating issues homeowners encounter. Not only can it lead to water damage and increased utility bills, but it can also cause significant stress if not promptly addressed. Identifying the source of the leak is crucial for effective repair.
Leaks from the base of the toilet are often caused by a deteriorated wax ring seal. This guide will help you understand how to fix these leaks with detailed, step-by-step instructions.
Table of Contents
Total Time: 90 minutes
-
Test the Wax Ring
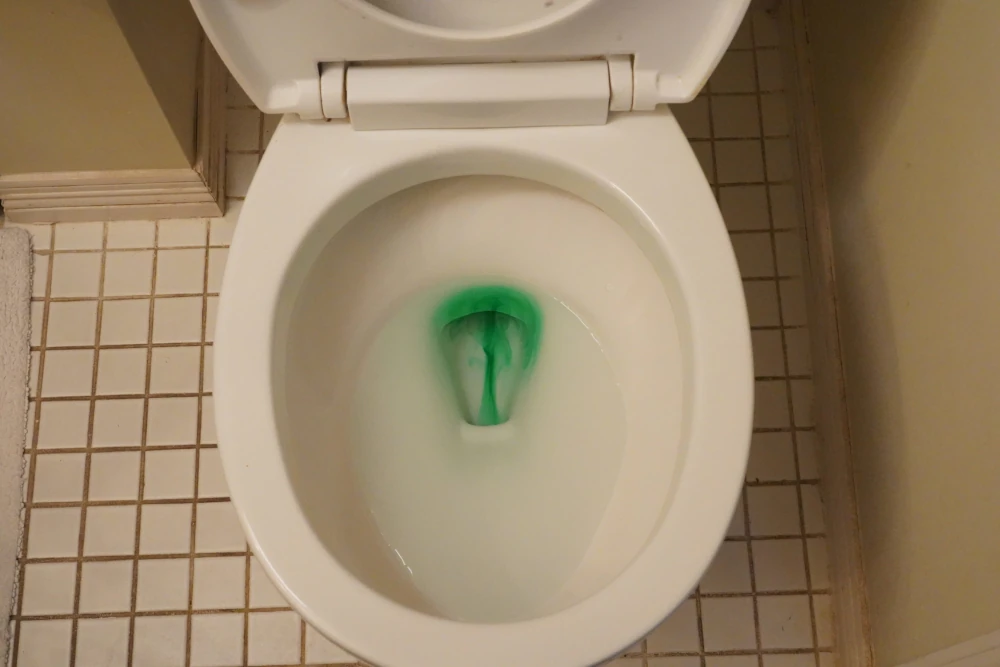
To determine if the wax ring is the cause of the leak, you can perform a simple test. First, add a few drops of food coloring into the toilet bowl and flush. Observe the area around the base of the toilet.
If you see colored water seeping out, it indicates that the wax ring seal is compromised and needs replacing. This initial test helps confirm the source of the leak before you proceed with more extensive repairs.
-
Turn Off Water Supply
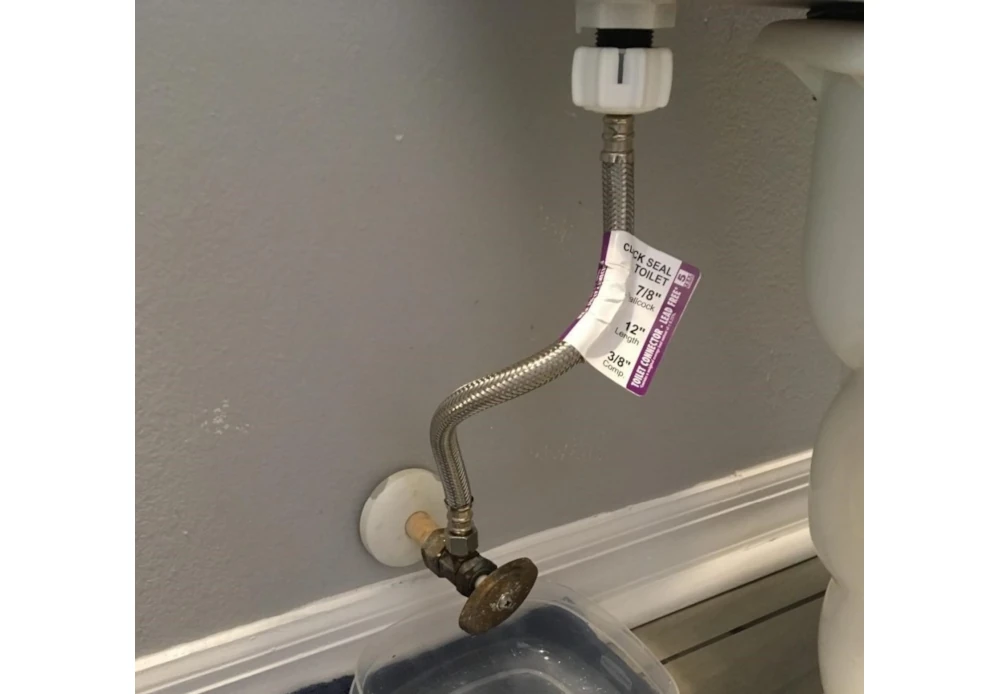
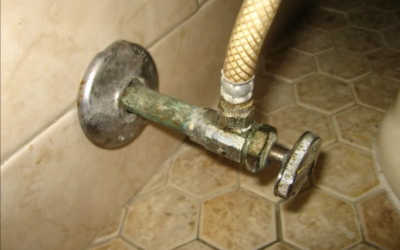
Before starting any repair, ensure the water supply to the toilet is shut off. Locate the shut-off valve behind the toilet, usually near the floor. Turn the valve clockwise until it stops.
This step prevents water from flowing into the toilet while you work, reducing the risk of flooding or additional water damage. Double-check by flushing the toilet to ensure no water refills the tank.
-
Drain the Toilet
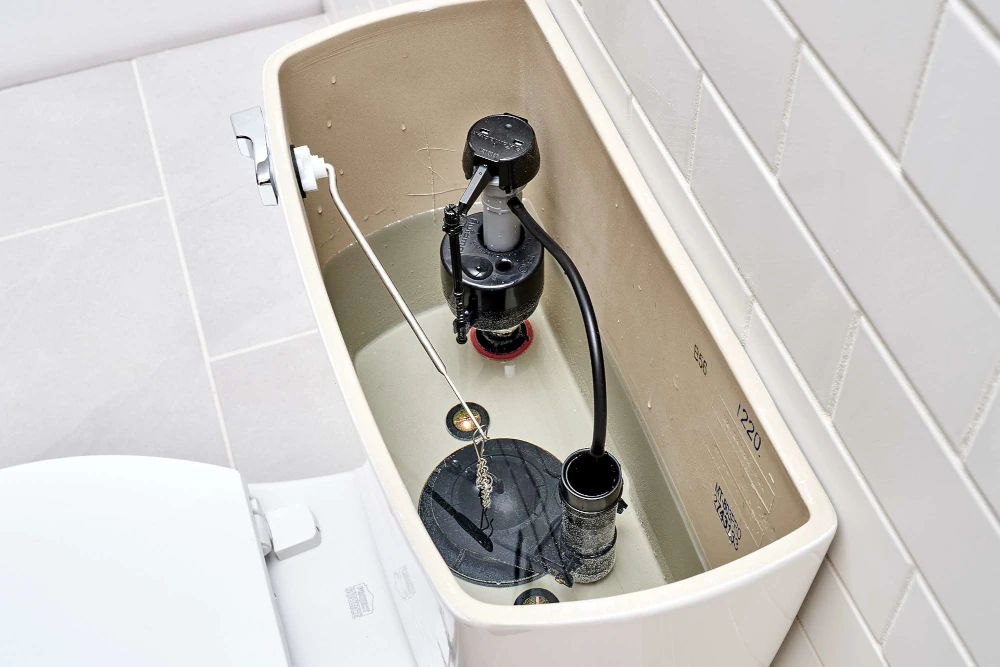
After turning off the water supply, flush the toilet to drain the water from the tank and bowl. Hold down the handle to allow as much water as possible to exit.
Use a sponge or a small cup to remove any remaining water in the tank and bowl. This step ensures that the toilet is dry, making it easier to handle and reducing the risk of spillage when you remove the toilet.
-
Disconnect the Water Supply Line
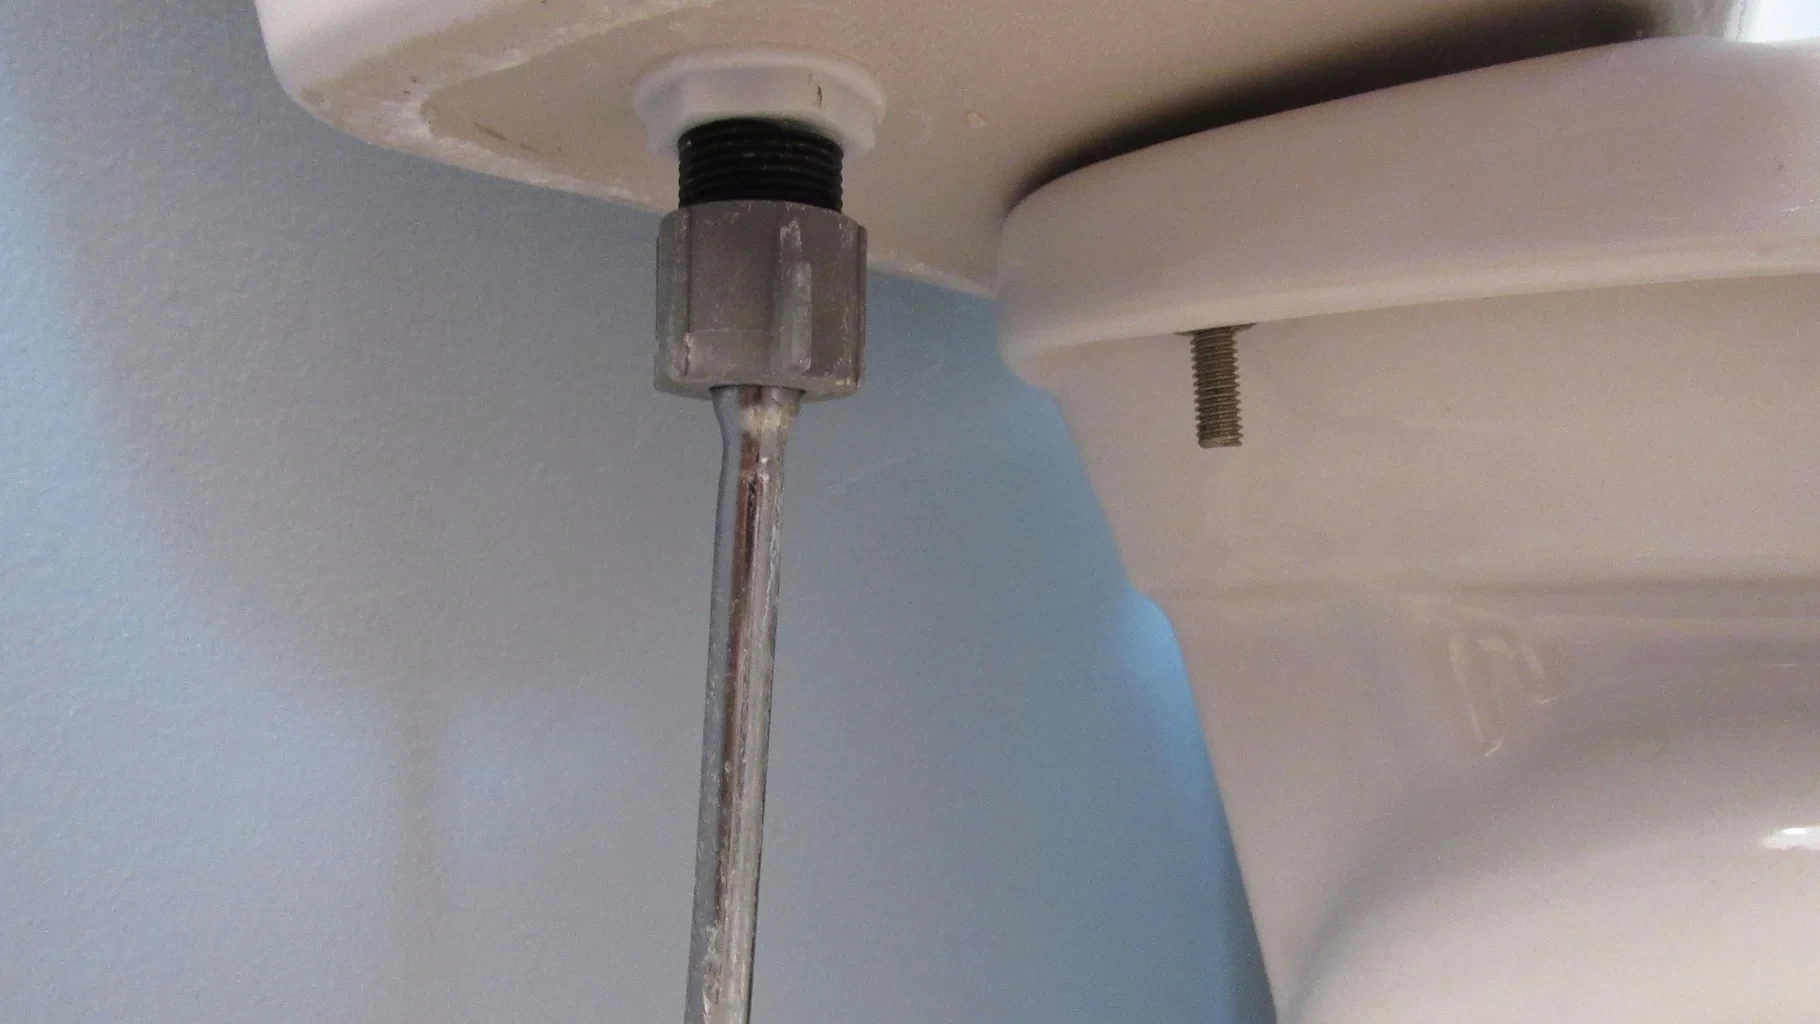
Using an adjustable wrench, disconnect the water supply line from the bottom of the tank. Place a small bucket or towel underneath to catch any residual water that may spill out.
Carefully unscrew the nut connecting the supply line to the fill valve. This disconnection is crucial for safely moving the toilet without damaging the water line.
-
Remove the Toilet
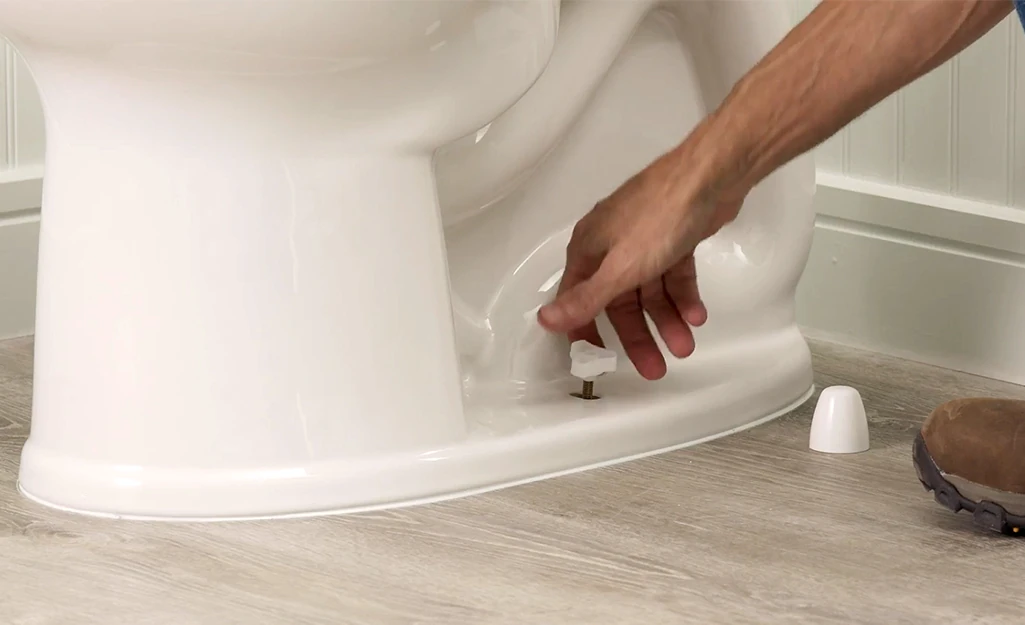
Next, unscrew the bolts securing the toilet to the floor using a wrench or screwdriver. These bolts are usually covered with plastic caps that can be pried off with a flathead screwdriver.
Once the bolts are removed, gently rock the toilet back and forth to break the seal of the old wax ring. Lift the toilet off the floor and place it on a towel or old newspaper to protect your floor from any remaining water or wax residue.
-
Replace the Wax Ring
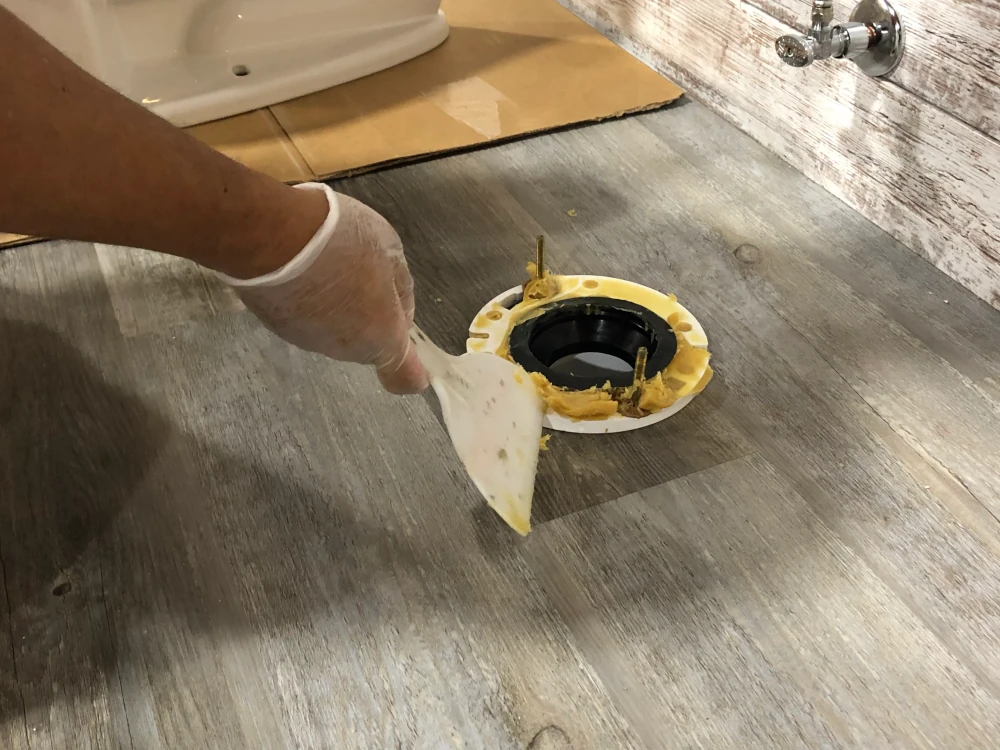
With the toilet removed, you can now access the old wax ring. Use a putty knife to scrape off the old wax from the toilet flange and the bottom of the toilet. Ensure the area is clean and free of debris.
Position the new wax ring on the flange, ensuring it is centered and pressed firmly in place. This new wax ring will create a watertight seal between the toilet and the floor.
-
Reinstall the Toilet
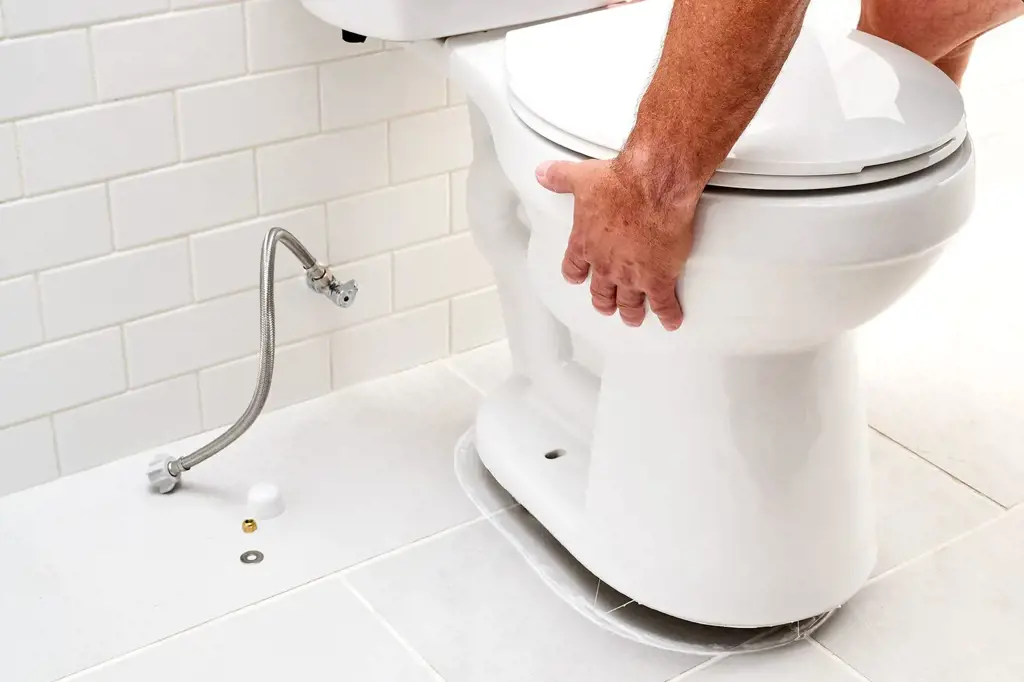
Carefully lift the toilet and align it over the flange and new wax ring. Ensure the toilet bolts pass through the mounting holes on the toilet base. Press down evenly on the toilet to compress the wax ring and create a seal.
Once the toilet is in place, hand-tighten the nuts onto the bolts, then use a wrench to tighten them further. Be careful not to overtighten, as this can crack the toilet base.
-
Reconnect the Water Supply Line
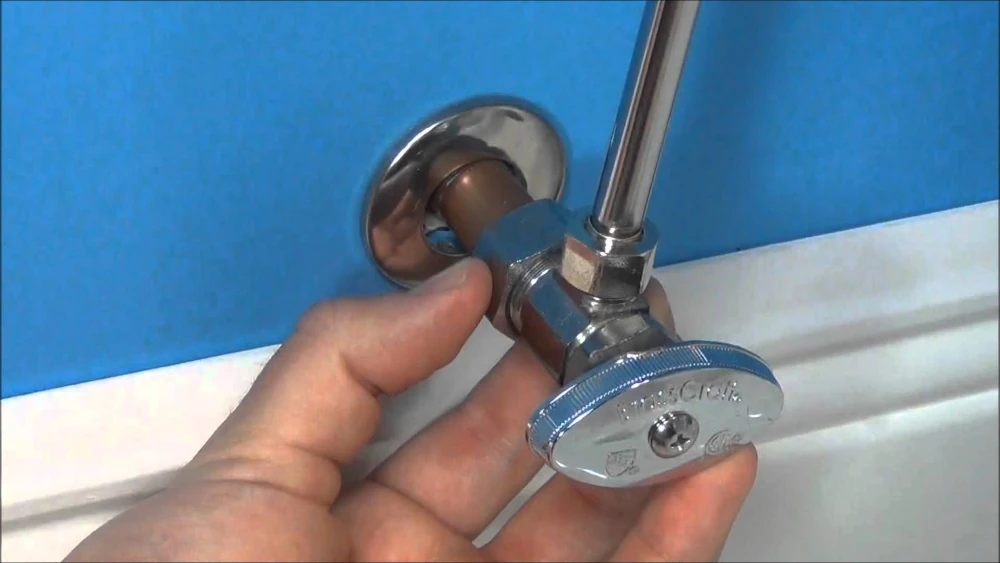
Reattach the water supply line to the fill valve on the bottom of the tank. Use the adjustable wrench to tighten the connection securely, but avoid overtightening to prevent damage to the fittings.
Turn the shut-off valve counterclockwise to restore the water supply. Check the connection for any signs of leakage and adjust if necessary.
-
Test for Leaks
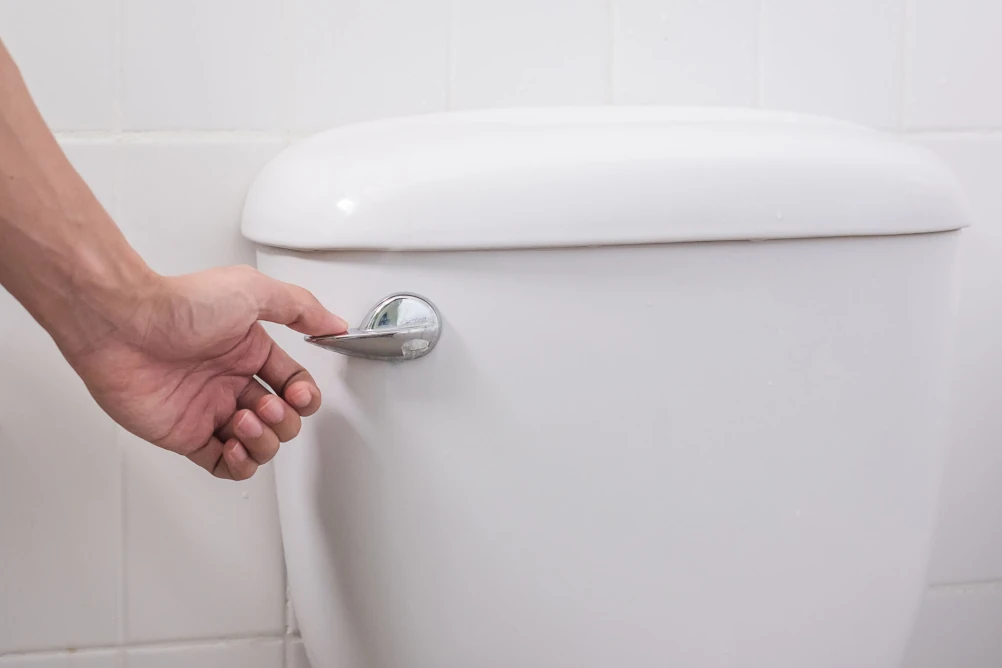
Finally, turn the water supply back on and allow the toilet tank to fill. Once the tank is full, flush the toilet several times and check around the base for any signs of leakage.
If you notice any water seeping out, check the tightness of the bolts and the alignment of the toilet. Ensure everything is secure and properly sealed. Repeat the test until you are confident there are no leaks.
Estimated Cost: 30 USD
Supply:
- Replacement Wax Ring: Essential for creating a new seal between the toilet and the flange.
- New Toilet Bolts: Often included with the wax ring, but you may want to buy a set if they are not.
- Plumber’s Putty or Silicone Caulk: For sealing the base of the toilet (optional).
Tools:
- Wrench: For disconnecting the water supply line and removing the bolts at the base of the toilet.
- Screwdriver: If needed for removing certain types of bolts or other fixtures.
- Putty Knife: For scraping off the old wax ring.
- Bucket: To catch any remaining water in the tank or bowl.
- Sponge: To soak up any residual water in the tank and bowl.
- Towel: To place the toilet on after removal.
- Level: To ensure the toilet is level after reinstallation (optional).
0 Comments