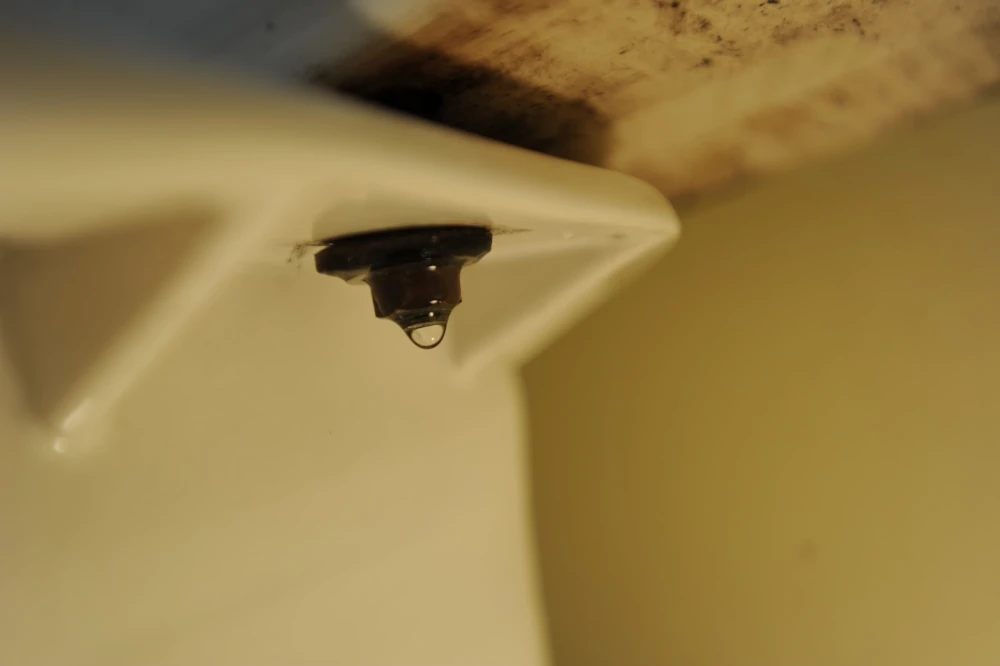
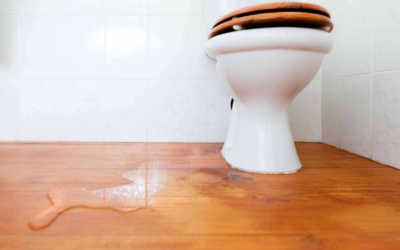
Leaks from the toilet tank are a common plumbing issue that can lead to wasted water and higher utility bills. Most leaks from the tank are due to faulty components such as the flapper, fill valve, or tank bolts.
This guide will walk you through the steps to identify and fix these leaks, helping you restore your toilet’s functionality. Addressing these leaks promptly is essential to maintain the efficiency and hygiene of your bathroom.
Table of Contents
Total Time: 90 minutes
-
Inspect the Flapper
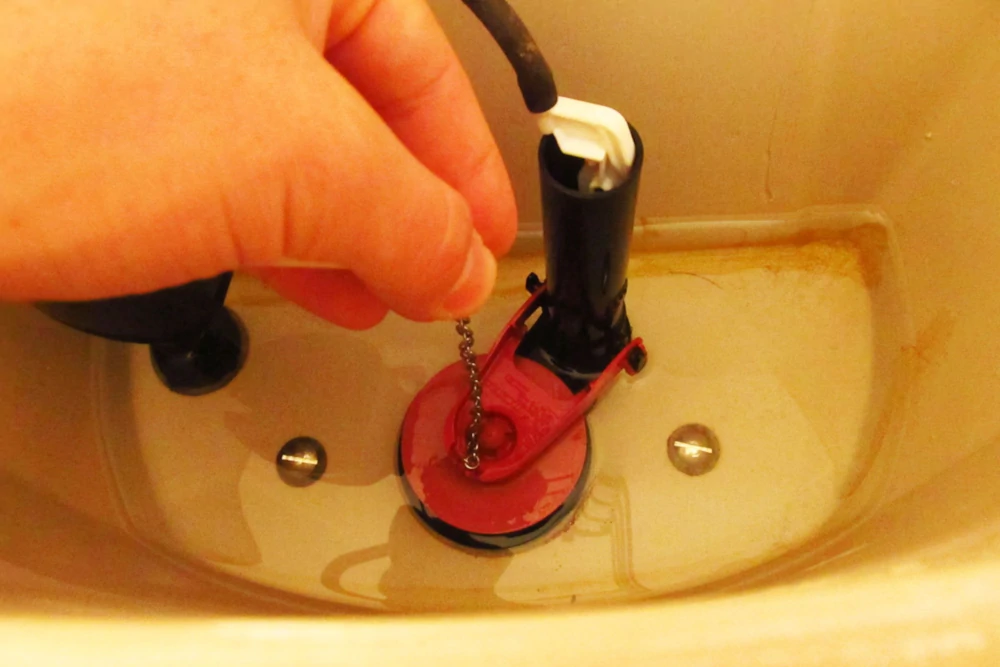
To check if the flapper is the source of the leak, remove the tank lid and observe the flapper. The flapper is the rubber component at the bottom of the tank that controls water flow into the bowl. If it is worn, warped, or not sealing properly, it needs to be replaced.
-
Turn Off the Water Supply
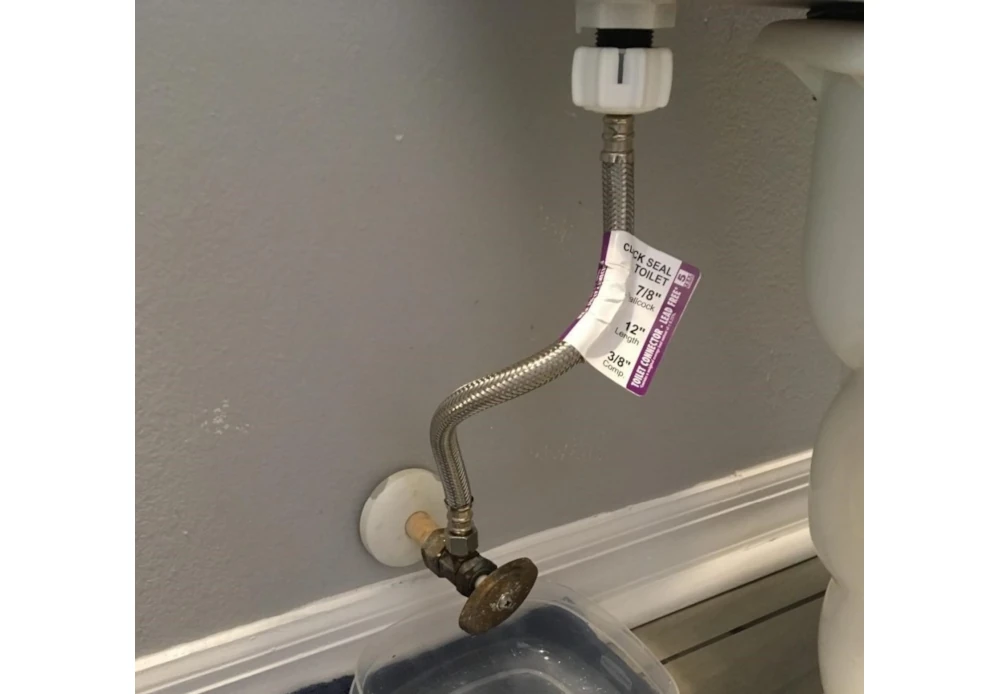
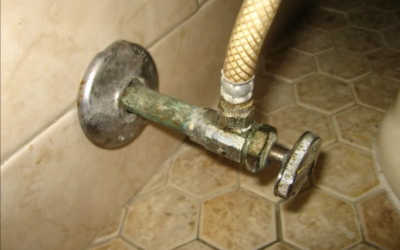
Before making any repairs, ensure the water supply to the toilet is turned off. Locate the shut-off valve, usually found behind the toilet near the floor, and turn it clockwise until it stops.
-
Drain the Tank
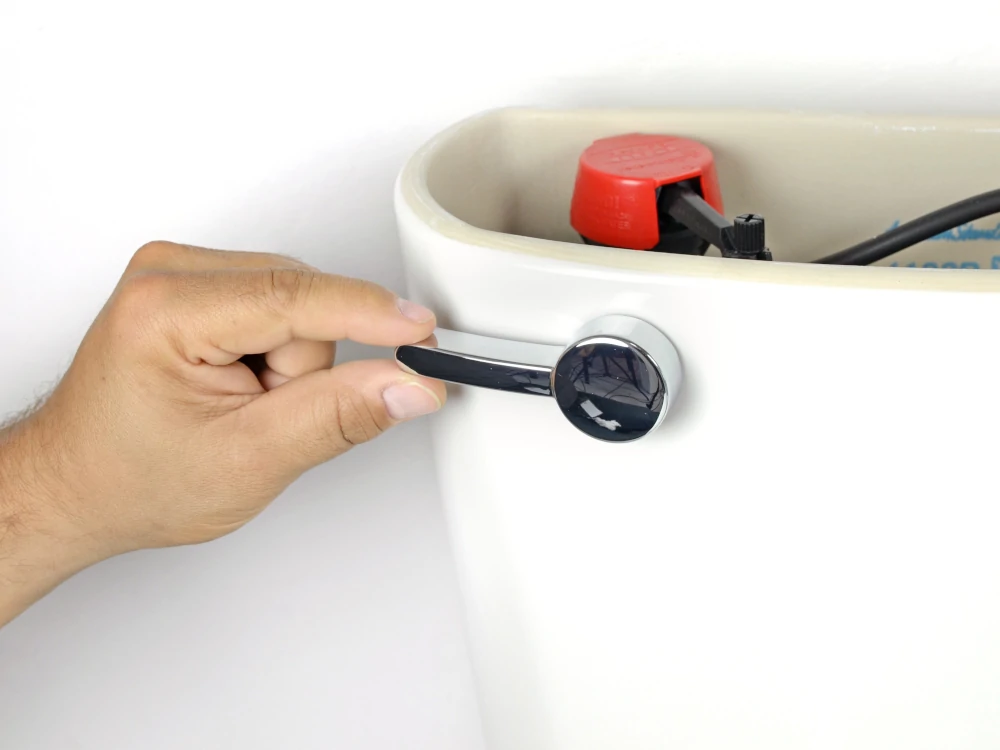
After turning off the water supply, flush the toilet to drain the water from the tank. Hold down the handle to allow as much water as possible to exit. Use a sponge or small bucket to remove any remaining water.
-
Replace the Flapper
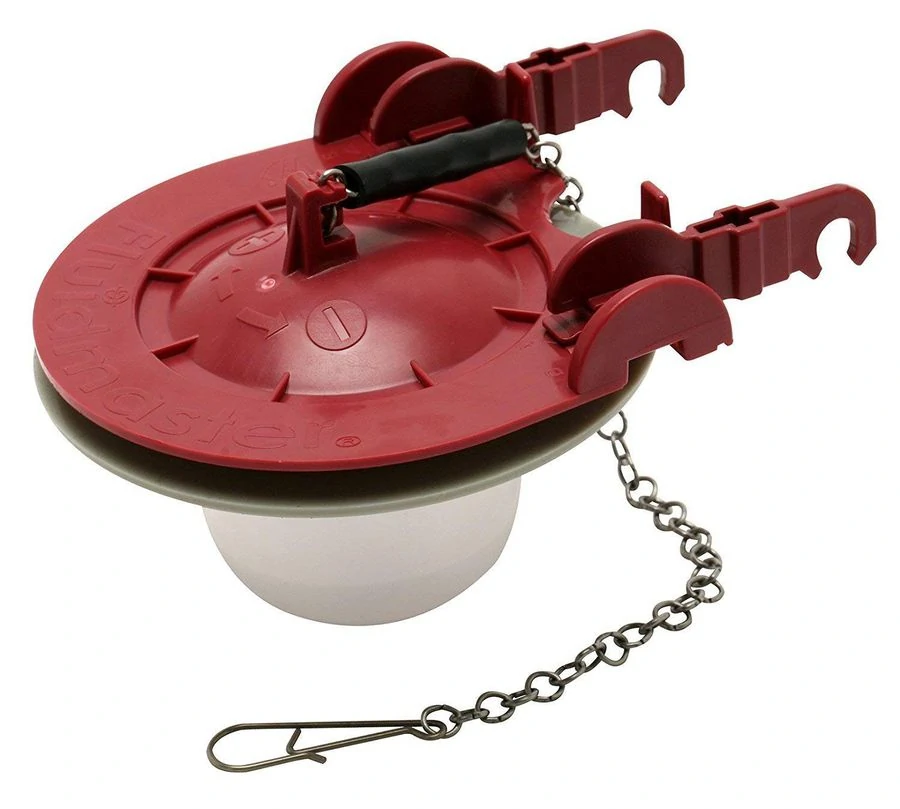
If the flapper is identified as the source of the leak, it’s time to replace it. Remove the old flapper and install a new one, ensuring it fits snugly over the flush valve seat.
-
Check the Fill Valve
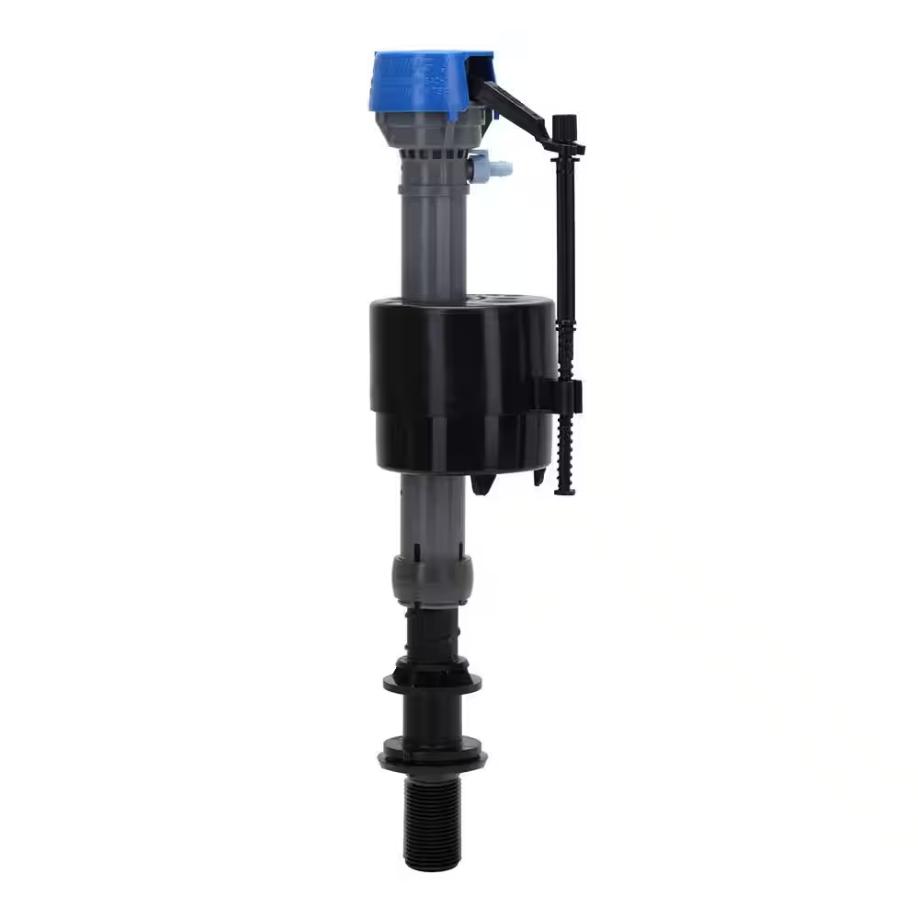
If the tank continues to overfill, the fill valve might be the issue. Adjust the fill valve or replace it if necessary to ensure it shuts off the water at the correct level.
-
Tighten Tank Bolts
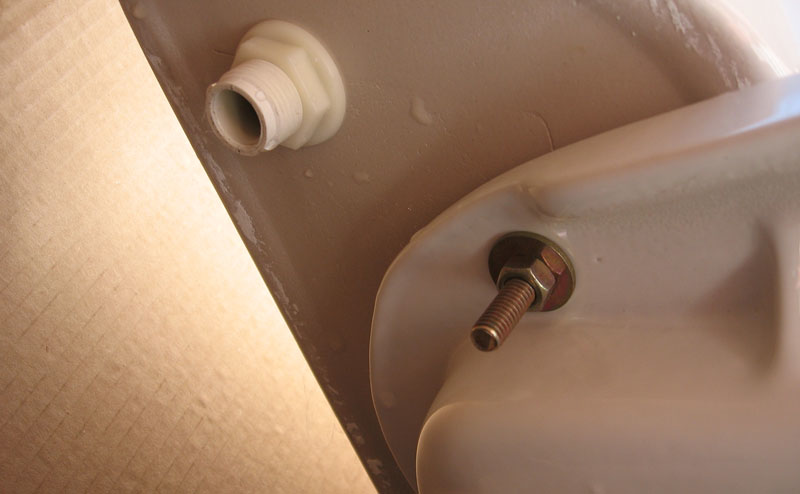
Leaky tank bolts can also be a source of leaks. Ensure the bolts connecting the tank to the bowl are tight and not causing leaks.
-
Reconnect the Water Supply
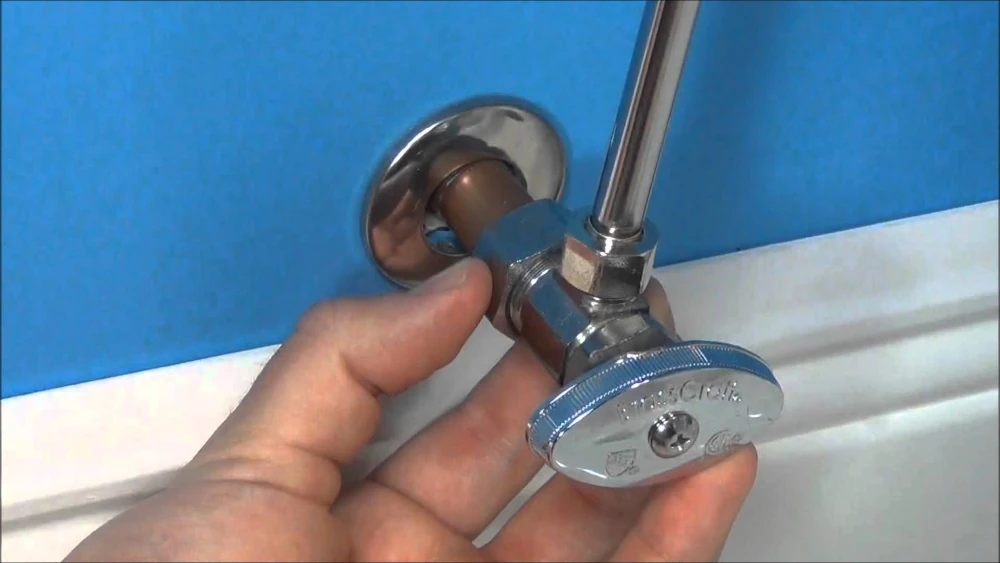
After making the necessary repairs, reconnect the water supply. Turn the shut-off valve counterclockwise to restore the water flow.
-
Test for Leaks
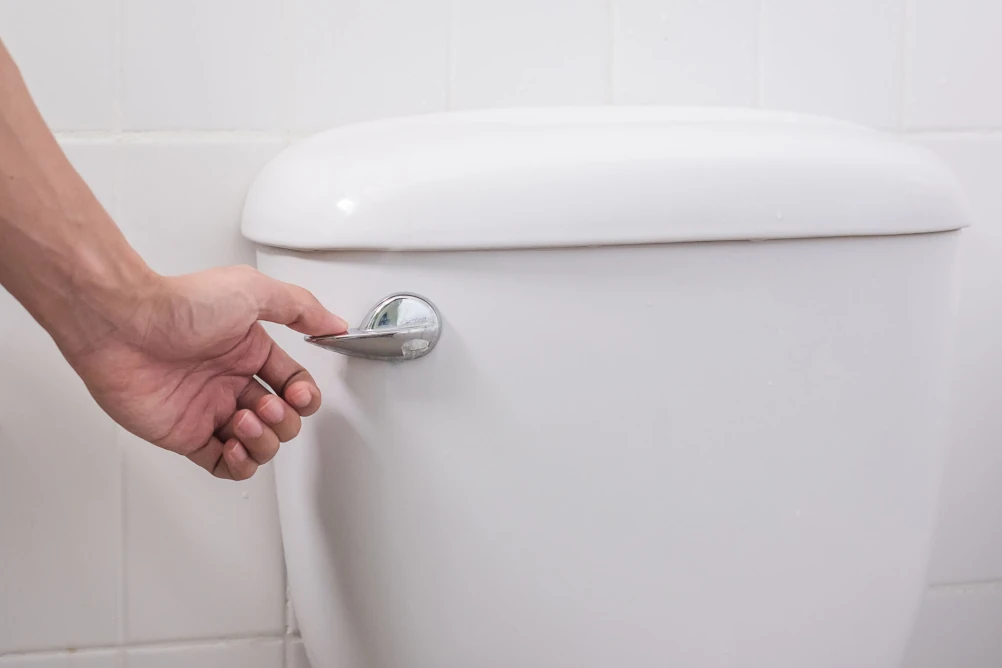
Once the repairs are complete, turn on the water supply and allow the tank to fill. Flush the toilet several times and check for any signs of leakage around the tank and base.
Estimated Cost: 50 Dollars
Supply:
- Replacement Flapper
- Replacement Fill Valve (if needed)
- New Tank Bolts and Gaskets (if needed)
- Plumber’s Putty or Silicone Caulk (optional)
Tools:
- Adjustable Wrench
- Screwdriver
- Sponge
- Bucket
- Towel
Conclusion
By following these steps, you can effectively fix leaks from the toilet tank, saving water and preventing potential damage. Regular maintenance and prompt repairs will help keep your toilet functioning efficiently.
0 Comments